Album:Vegetable Oil Conversion:Installing the tanks
Pushlock connectors are excellent for avoiding leaks, but they're tough to get on. Installation tip: Use silicone spray liberally on the connector and inside of the hose before pushing hose on. It helps immensely.
 |
 |
 |
 |
|||||
 |
|||||
 |
|||||
 |
|||||
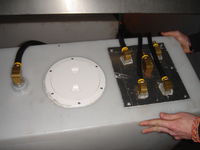
(
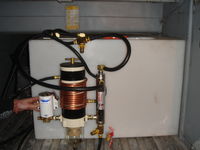
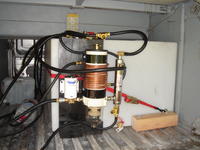
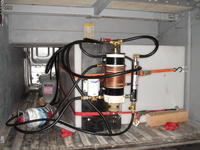
and exchanger/filter/pump #1 (
in the dirty tank. (
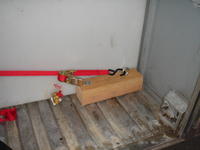
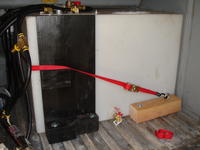
to hold the dirty exchanger/filter/pump (as well as help lock in the tank) (
 |
|||||
 |
|||||
 |
|||||
 |
|||||
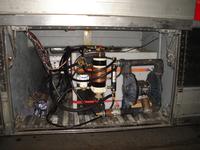
plumbed and mounted. (
strap for better strength. (
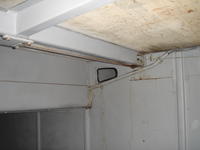
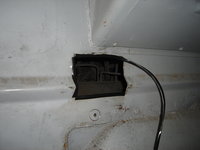
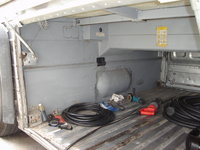
where I'll be running the SVO hoses. I found some rubber molding that fits the edges perfectly to protect the hoses. (
molding being added. (
 |
|||||
 |
|||||
 |
|||||
 |
|||||
(
(except for the collection pump). (
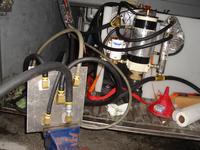
wasn't balanced. All the flow went to the heat exchanger and the coils were cold. So I tried running a bigger hose along the main flow to the first coil. (
where the new hose comes in, bottom right. Unfortunately this wasn't good enough. (
 |
|||||
 |
|||||
 |
|||||
 |
|||||
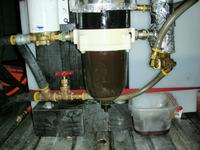
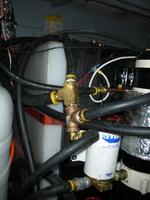
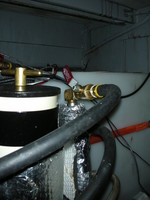
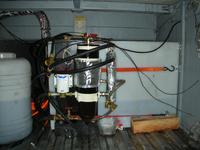
Hot coolant splits, some goes to clean tank, other goes through valve to dirty tank filters and heat. This way I can turn off the dirty tank and still run WVO if the engine is having trouble staying hot. (
(
now has a valve on it to adjust flow - too much was going through the big exchanger and too little through the dirty coils. (
(
 |
 |
 |
Photo album generated by album generator a script written by David Ljung on Thu Jan 28 03:53:04 2016